GBP
EUR
USD
AUD
CAD
CHF
CNY
CZK
DKK
JPY
KRW
NOK
NZD
PLN
RON
RUB
SEK
TWD
ZAR
Basket
Prices shown exclude VAT
Toggle navigation
HyperFlight
Menu
RC Models
DLG F3K Hand Launch Gliders
Electric F5J Gliders
2m F3L RES Thermal Soarers
Thermal Soarers & Gliders
Slope Soarers
Pylon Racers & Sports Models
Servos
KST Servos
MKS Servos
CHA Servos
Blue Bird Servos
EMAX & Other Servos
High Voltage Servos
KST Accessories
MKS Accessories
Servo Covers
Control Horns & Pushrods
Plastic Mounting Frames with Bearing
Wood Mounting Frames
Servo Extension Cables & Wire
Electronics
Altimeters, AMRT & Altitude Switches
LiPo Regs & Switches
Other Electronics
Powertrains
Geared
Direct Drive
Firewalls / Motor Mounts
Speed Controls / ESC
Prop Blades
Speed Props F3S
GM Spinners
GM CL Spinners & Blades
Dualsky Spinners
25mm - 28mm Spinners
30mm Spinners
32mm Spinners
34mm+ Spinners
GM Spinner Accessories
CN Spinner Accessories
Dualsky Accessories
VM Spinner Accessories
NiMH Batteries
LiPo Batteries
Bags
Transport Bags
Component Bags
Model Stands
Materials
Carbon Rod
Carbon Strip
Carbon Tube
Carbon Booms
Aluminium Tube
Carbon Parts
Spread Carbon Fabric
Carbon & Glass Fibre Sheet
Covering Material & Tapes
PTFE Tube
Piano and SS Wire
Glues
Wing Mounting Screws
Other
DLG Accessories
Other Accessories
Pushrods / Bowden Cables
Ballast Sets and Weights
Promotional Items
Special
Parts
AVA Pro Parts
Blaster 2 and 2e Parts
Blaster 3 and 3.5 Parts
Dream-Flight Parts
Elf Parts
Nan Parts
Snipe Parts
Sprite Parts
Supra Parts
Yoda Parts
OA Composites Parts
Armsoar Parts
Aeroic Parts
Other Manufacturers' Parts
Help
Account
Contact Us
Customer Info
Privacy Policy
Materials
Spread Carbon Fabric
Materials ‐ Spread Carbon Fabric
Showing 1 - 5 of 5
Sort by Relevance
Sort by Price High to Low
Sort by Price Low to High
Sort by Name
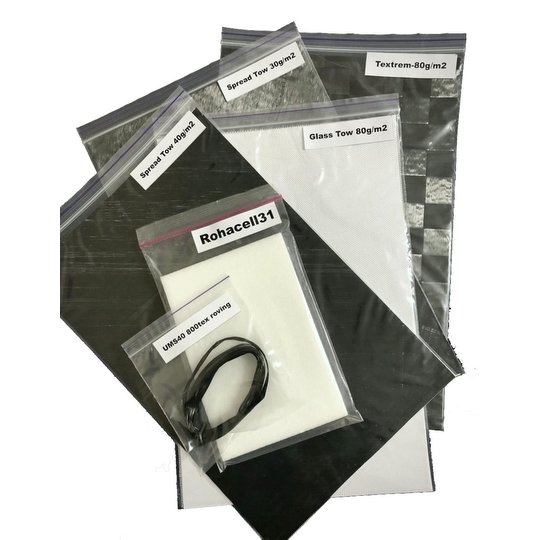
DLG & Small Glider Composite Repair Kit
(5 reviews)
£31.67
Out of stock,
notify me when back in stock
More Details
Chequerboard 80 g/m2 Spread Carbon
(no reviews)
£13.33
save
50%
More than 30 in stock
More Details
Buy
Chequerboard 55 g/m2 Spread Carbon
(no reviews)
£29.17
save
50%
More than 30 in stock
More Details
Buy
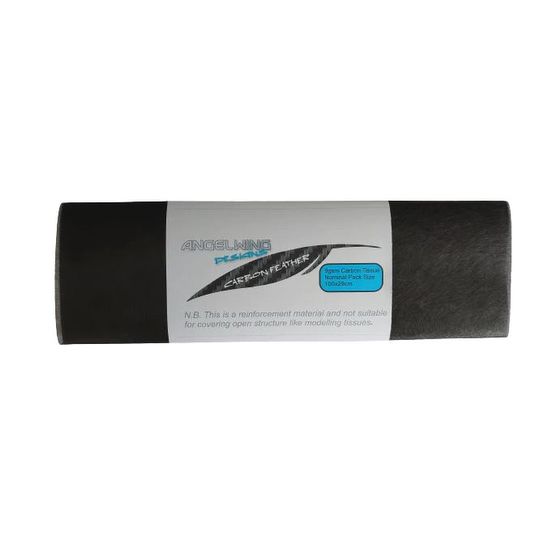
Carbon Tissue 9g/m2
(5 reviews)
£8.33
8 in stock
More Details
Buy
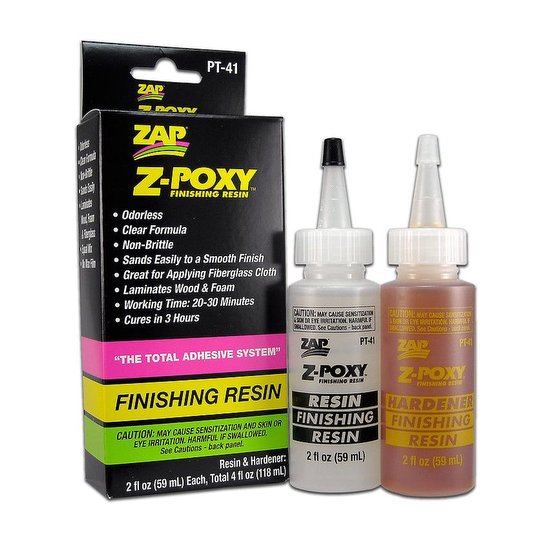
ZAP PT41 Z-Poxy Finishing Resin/Epoxy
(8 reviews)
£11.58
9 in stock
More Details
Buy
Service
Account
Customer Info
Privacy Policy
Useful Links
Sitemap
Special Offers
Products
RC Models
Servos
Electronics
Powertrains
Bags
Materials
Parts
Other
Shop Securely
Contact Us
HyperFlight
Drybank Farm
Fosse Way, Ettington
Stratford-upon-Avon
Warwickshire, CV37 7PD
United Kingdom
+44 (0) 7821 351341
447821351341
sales@hyperflight.co.uk
Contact Form
Follow Us
 447821351341
sales@hyperflight.co.uk
Contact Form
447821351341
sales@hyperflight.co.uk
Contact Form